

Automatic glass doors are widely used in commercial buildings, shopping malls, hospitals, and offices due to their convenience, safety, and modern appeal. At the heart of these doors is the Automatic Glass Door Sensor, which detects movement and triggers the door to open or close.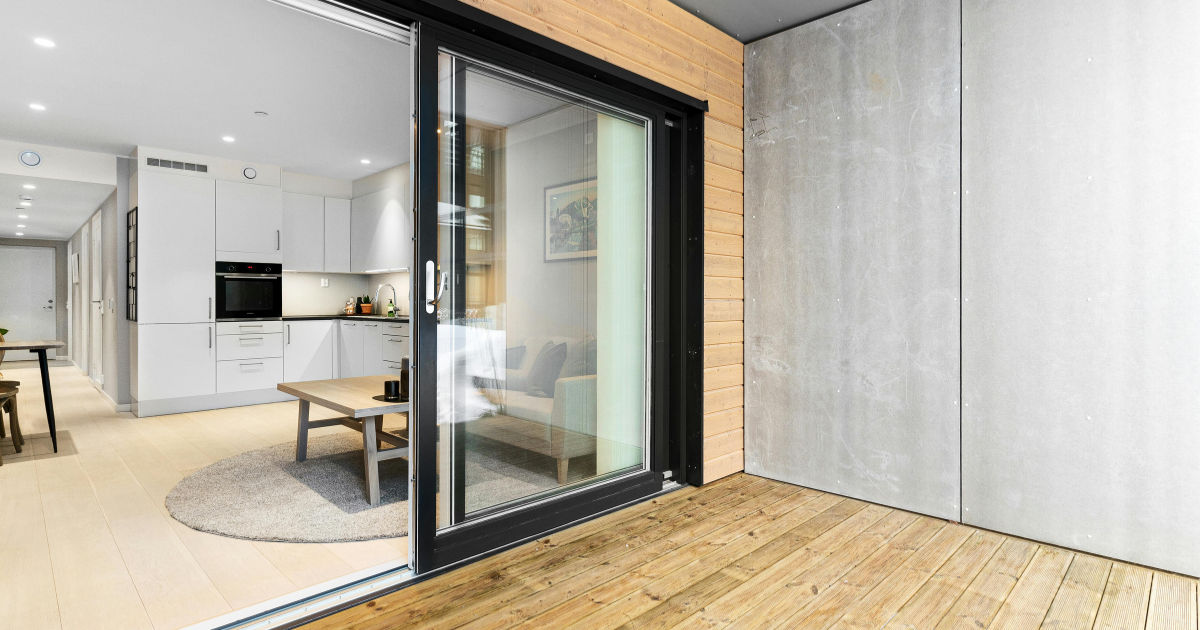
Proper calibration of these sensors is crucial to ensure smooth operation, safety, and energy efficiency.In this comprehensive guide, we will explore everything you need to know about calibrating an Automatic Glass Door Sensor, step by step, and provide tips for maintenance and troubleshooting.
This guide is written in simple language, suitable for anyone with basic technical knowledge.
Understanding Automatic Glass Door Sensors
Before diving into calibration, it is important to understand how an Automatic Glass Door Sensor works. These sensors detect the presence of people or objects near the door and send signals to the door operator to open or close the door.
Types of Automatic Glass Door Sensors
-
Motion Sensors: Detect movement near the door using infrared technology.
-
Presence Sensors: Detect a person standing in front of the door, even if they are stationary.
-
Safety Sensors: Usually installed at the door edges or floor to prevent the door from closing on a person.
Each type of sensor plays a different role. For calibration purposes, motion and presence sensors are the primary focus.
Why Calibrating Automatic Glass Door Sensors is Important
Calibration ensures that the door operates efficiently, safely, and reliably. Here are the key reasons why sensor calibration is essential:
-
Safety: Prevents accidental collisions with the door.
-
Energy Efficiency: Reduces unnecessary opening and closing, saving energy.
-
Longevity: Properly calibrated sensors reduce wear and tear on the door mechanism.
-
Optimal Performance: Ensures the door opens at the right time and remains responsive.
Improperly calibrated sensors may cause the door to open too slowly, not detect people, or stay open unnecessarily, creating hazards and wasting energy.
Tools Needed for Calibration
Before starting, gather the following tools:
-
Screwdriver (usually Phillips head)
-
Ladder or step stool
-
Soft cloth
-
Measuring tape (optional, for precise positioning)
-
User manual of your Automatic Glass Door Sensor
Having these tools ready will make the calibration process smoother and safer.
Step-by-Step Guide to Calibrate Automatic Glass Door Sensor
Calibrating an Automatic Glass Door Sensor may vary slightly depending on the manufacturer, but the general steps remain similar.
Step 1: Turn Off the Power
For safety, always turn off the power to the door system before adjusting any sensors. This prevents accidental activation and potential injury.
Step 2: Clean the Sensor
Dust and dirt can interfere with the sensor’s operation. Use a soft cloth to gently clean the sensor lens and surrounding area.
Step 3: Identify Adjustment Controls
Most Automatic Glass Door Sensors have small knobs or buttons for adjusting:
-
Sensitivity: How far the sensor can detect movement.
-
Time Delay: How long the door stays open after detecting motion.
-
Range: The detection area in front of the door.
Refer to the user manual to locate these controls.
Step 4: Adjust Sensitivity
Start with the sensitivity setting. Turn the knob or adjust the control until the sensor reliably detects movement without false triggers.
-
Too high sensitivity: Door may open unnecessarily.
-
Too low sensitivity: Door may not open when someone approaches.
Test the sensor multiple times during this process to find the optimal setting.
Step 5: Adjust Time Delay
The time delay determines how long the door stays open after detecting motion.
-
Short delay: Door may close too quickly, posing a safety risk.
-
Long delay: Door remains open unnecessarily, wasting energy.
Set the delay based on the flow of traffic in the area. Busy areas may need shorter delays, while slower areas may require longer delays.
Step 6: Adjust Detection Range
The detection range controls how far from the door the sensor can detect movement. Adjust the range to cover the entrance area without detecting movement from outside the intended zone.
-
Ensure the sensor detects people approaching the door at a normal walking pace.
-
Avoid overly large ranges that may trigger the door from far away.
Step 7: Test the Sensor
After making adjustments, test the door by walking toward it at different speeds and angles. Observe whether the door opens and closes smoothly.
-
Walk slowly, then quickly, to ensure the sensor responds accurately.
-
Check for any false triggers or missed detections.
Repeat adjustments if necessary until the sensor responds reliably.
Common Calibration Problems and Solutions
Even after careful calibration, you may encounter issues. Here are some common problems with Automatic Glass Door Sensors and their solutions:
False Triggers
-
Cause: High sensitivity or reflective surfaces near the door.
-
Solution: Reduce sensitivity and remove reflective objects near the sensor.
Door Doesn’t Open
-
Cause: Low sensitivity, misaligned sensor, or obstruction.
-
Solution: Increase sensitivity, realign the sensor, and clear any obstacles.
Door Closes Too Quickly
-
Cause: Short time delay setting.
-
Solution: Increase the time delay so the door remains open longer.
Uneven Detection
-
Cause: Improper sensor positioning or angle.
-
Solution: Adjust the angle or height of the sensor for consistent detection across the doorway.
Maintenance Tips for Automatic Glass Door Sensors
Regular maintenance helps extend the life of your Automatic Glass Door Sensor and ensures optimal performance.
-
Clean the sensor lens weekly to prevent dust build-up.
-
Inspect wiring and connections to ensure no loose or damaged wires.
-
Check sensor alignment every few months, especially after heavy use.
-
Schedule professional inspections at least once a year.
Upgrading and Replacing Sensors
Over time, sensors may become outdated or fail to operate properly. Upgrading to a newer sensor can improve performance and energy efficiency.
-
Look for sensors with advanced motion detection and adjustable ranges.
-
Consider dual-technology sensors, which combine infrared and microwave detection for more accurate performance.
-
Ensure any replacement sensor is compatible with your door system.
Safety Considerations
Safety should always be a priority when working with Automatic Glass Door Sensors:
-
Never attempt calibration while the door is powered on.
-
Keep hands and tools away from moving parts during testing.
-
Ensure children or pets are not near the door during calibration.
-
If unsure about any adjustment, consult a professional technician.
Frequently Asked Questions
How often should I calibrate my sensor?
It depends on usage, but generally every 6–12 months, or whenever the door shows signs of malfunction.
Can I calibrate the sensor myself?
Yes, most basic calibrations can be done safely with the steps above. For complex issues, call a professional.
Does weather affect sensor performance?
Yes, extreme temperatures, direct sunlight, or moisture can affect sensor sensitivity. Proper calibration can help mitigate these issues.
What if the sensor keeps triggering randomly?
This usually indicates interference, reflective surfaces, or misalignment. Adjust sensitivity and range, and remove obstacles.
Conclusion
Calibrating an Automatic Glass Door Sensor is a vital process to ensure safety, efficiency, and smooth operation. By understanding how these sensors work, following step-by-step adjustments, and maintaining regular checks, you can prevent accidents, reduce energy waste, and extend the life of your automatic glass doors.
Proper calibration may take some trial and error, but it is a manageable task with patience and careful observation. For large or high-traffic areas, consider professional calibration for optimal performance.
Investing time in proper sensor calibration not only improves door performance but also creates a safer and more convenient environment for everyone.
By following this guide, you now have a comprehensive understanding of how to adjust, maintain, and troubleshoot your Automatic Glass Door Sensor, ensuring it operates flawlessly for years to come.